
Links in this post may be affiliate links. Any products purchased through affiliate links may provide a small commission which helps to support the SemiPro Tech+Gear site and YouTube channel.
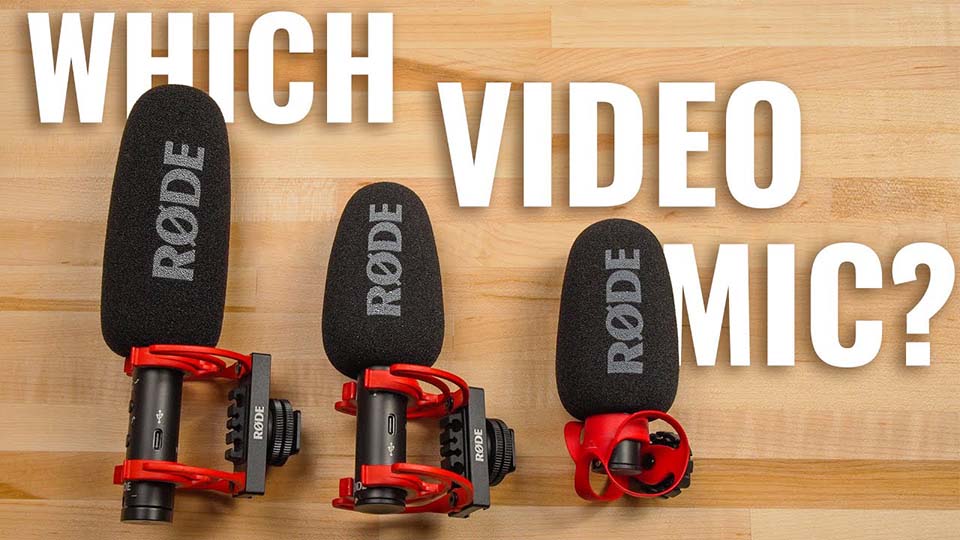
Rode’s VideoMic line offers some affordable solutions for getting high quality into your videos without requiring any additional gear. They can also work well as your work from home mic for video calls. But which one is right for you? In this article and video I compare the VideoMicro II, VideoMic GO II, and VideoMic NTG.
Vlogging Pick: VideoMic GO II
YouTube Video Pick: VideoMic NTG
VideoMicro II

Price: $79
Polar Pattern: Supercardioid
Freq Response: 20Hz – 20kHz
Power Required: 2-5v plugin
Output: 3.5mm TRS
Features/Switches: None
At just 80mm in length and a whopping 39 grams including the shock-mount, the VideoMicro II is the most compact option in the lineup. If you are looking for the most travel-friendly option to get improved audio into your videos, the Micro II might be the one for you. However it does not have the advanced features that the GO II and NTG offer, starting with the type of output. The Micro II only offers a 3.5mm TRS output, which makes it both simple and straightforward, but also limited. Rode provides a TRS to TRRS cable in the box, allowing you to connect the Micro II to a smartphone, tablet, or laptop headphone jack. Because there is no digital connection, there are no advanced audio features (ex: high-pass filter, compression) when using Rode’s mobile apps. But if what you’re looking for is a no-frills, super lightweight and budget-friendly mic, it’s a great option.
VideoMic GO II

Price: $99
Polar Pattern: Supercardioid
Freq Response: 20Hz – 20kHz
Power Required: 2-5v plugin or 5v USB
Output: 3.5mm TRS / USB-C
Features/Switches: HPF, Presence Boost, Pad, Compression (software only)
While the Micro II might be the most compact of the three, the VideoMic GO II is certainly not a bulky microphone. At 89 grams including the shock-mount, we’re still talking about less than a quarter-pound in weight, and only 120mm in length (4.7 inches). But for that modest size increase, you get a lot more features with the GO II. The big difference here is the inclusion of a USB-C output in addition to 3.5mm TRS, which means in addition to connecting to your camera, you can also get the benefits of a digital connection with smartphones, tablets, and computers. The USB connection allows you to unlock the advanced features and processing within the GO II, by using Rode’s free mobile apps (Rode Capture or Rode Reporter) or desktop software (Rode Connect or Rode Central). Being able to enable a high-pass filter, pad, compression, noise gate, plus APHEX processing makes the GO II more versatile than the Micro II. These are great features to have if you want to capture your audio and go straight to uploading a YouTube short or TikTok video, or also if you’re using the GO II as a microphone for video calls where you don’t have the option of post-processing. Overall, the GO II is my top recommendation for vlogging, short form or mobile video content, and video calls.
Rode VideoMic NTG

Price: $249
Polar Pattern: Supercardioid
Freq Response: 35Hz – 18kHz
Power Required: Built-in Battery or USB power
Output: USB-C / 3.5mm TRS
Features/Switches: HPF, Presence Boost, Pad, Safety Track (physical buttons)
The Rode VideoMic NTG is one of the most versatile microphones I’ve used from both content creation and work from home perspectives. The NTG includes the USB-C connectivity found on the GO II, but adds some additional key features to justify the jump in price. Namely, a built-in rechargeable battery, gain control dial, and physical buttons that control several features – you’re not required to use software to unlock them. One feature only available on the NTG and controlled with a physical button is the safety track, which can record the same mono signal in both the L & R channels with one of them padded down by 20dB. That means you’ll have usable audio even if part of your main channel clips, saving you from having to re-shoot the whole video or segment. It also offers access to the high-pass filter, presence boost, and pad via the physical buttons. The gain control dial is helpful because it enables you turn up the gain on the microphone and turn down the input level on your camera when using the 3.5mm output, which will keep the noise level of your audio low. In terms of sound quality, it’s the best out of the three in my opinion and really doesn’t require much post-processing to sound great. The only downside (which hopefully can be remedied with a firmware update) is that when using the NTG with Rode’s Connect desktop software, I seem to always get a distorted sound when I enable the advanced processing features (not the ones controlled by physical buttons). See my video above for an example. Because of its larger size, the NTG is not my top pick for mobile recording such as vlogging with your smartphone where size & weight really matter. But for a non-mobile setup such as interviews, product reviews, or other talking head style YouTube videos, the NTG would be my top choice. Want to see how it compares to professional XLR shotgun mics? Check out my article about the best boom microphones.
VideoMic Tip
Regardless of which VideoMic is best suited to your needs, remember that most if not all (I would say all) microphones will provide the best sound quality when positioned close to the video subject. Although these are marketed as “camera-mount” microphones, that is not always the best place to position them. If you’re vlogging and holding the camera or smartphone relatively close to you, then mounting one of these mics on your camera or tripod mount is both practical and appropriate in terms of sound quality.
However, if you are making videos in a more controlled environment where your camera is positioned farther away, mounting any microphone on the camera will not provide the best results. Your audio will sound better if you position the microphone closer to the subject, such as on a boom arm just out of frame anywhere from 8 to 12 inches away. Just listen to the audio samples in my video above if you want proof!