
Links in this post may be affiliate links. Any products purchased through affiliate links may provide a small commission which helps to support the SemiPro Tech+Gear site and YouTube channel.
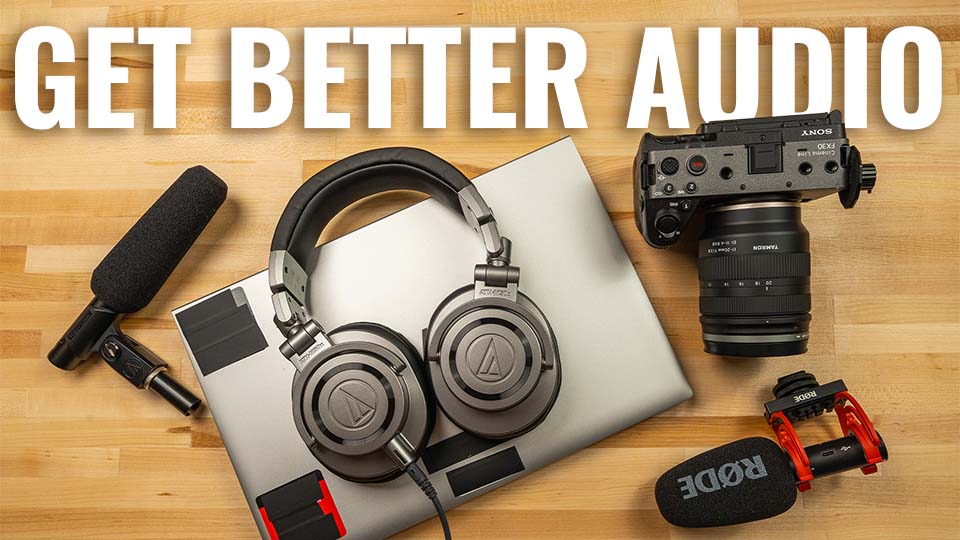
The quality of the audio in your videos has a significant impact on the audience’s perception of your content. Some viewers may actually place greater importance on audio quality when determining whether to continue watching. But the good news is that you don’t need expensive audio gear to make some significant improvements in your audio. Below are five tips to improve audio quality and most of them won’t cost you a thing if you already have an external microphone for your camera.
If you don’t already have an external microphone, that is step #1 to improving your audio. But don’t worry, you don’t have to spend hundreds or thousands to get great audio. Check out my breakdown of Rode’s VideoMic lineup for some great options.
Continue reading for a breakdown of all five tips with audio samples.
Tip #1: Eliminate Noise
This may seem obvious but it is often overlooked. There are two types of noise that impact our audio: external and internal noise. External noise is something we can’t control – depending on where you live, you could have a high level of external noise or virtually none. This includes noises coming from traffic, airplanes, lawn mowers, and other sounds that we can’t simply turn off. For external noise control, see tip #2, but it can’t be completely eliminated so if you have a high level of external noise, a noise reduction plugin or software like the Hush app for Mac might be necessary.
Internal noise you have much more control over. This includes sounds like appliance hum/rumble, HVAC noises, computer fans, or any other noise coming from something inside your home or recording space. The simple solution for eliminating these noises is to turn them off (temporarily of course). Even on a hot or cold day, it is safe to turn your heat or air conditioning off for the short duration of your recording – just don’t forget to turn it back on. If you have a near-silent HVAC system it may not be necessary, but most home systems make at least some low-end rumble when cycling on/off, and there may also be some airflow noise with forced-air systems.
Noises directly inside your recording space like fans or computers you’re not using to record can and should also be turned off. A low noise level not only means better quality audio directly, but it also means you most likely won’t need to rely on noise reduction software. Check out the audio sample below to hear the difference after turning off noise sources (central A/C and a computer fan in the sample). Headphones recommended.
Tip #2: Add Sound Treatment
Once you’ve eliminated controllable noise, the next step is to reduce the sound of reflections (echo). This does not necessarily mean buying sound absorbers, depending on your recording space. If you’re recording in a carpeted room and you have some extra blankets, comforters, or heavy curtains, you may already have what you need. Of course, sound absorbers specifically designed for recording studios will generally be more effective than less dense materials like curtains, but this is one of those “anything is better than nothing” situations.
These household items can be hung over doors, on walls, over windows, and/or draped over furniture. Any hard, flat surface in your recording space will reflect sound back towards the microphone. Covering as much of it as you can with soft materials will help to reduce the reflections, at least the higher frequencies. If you have extra curtains, double them up over windows to make them more effective. You can also use command hooks for walls and doors if you don’t want to permanently attach anything.
If you have some budget available to invest in sound treatment, you don’t have to go for things that must be permanently affixed to the wall or ceiling if you would prefer not to. In my recording space I use two types of sound absorbers that can be put up on stands or hung on non-damaging hangers like command hooks or on existing window treatments.
Audimute Sheets
These sound absorbers are a great size to cover most windows and doors and they are very effective at absorbing reflections. They have convenient grommets across the top for easy hanging. I use them to cover the windows in my recording space, and one inside my vocal booth to cover the door.
Sound Blankets
Sound blankets are very versatile and can also be quite effective. However I don’t recommend using most of the blankets on amazon that are marketed as “sound blankets” but really are lighter weight moving blankets. They can be effective if you use a double or triple-thick layer, however many of them are lower quality.
I use sound blankets that are 10lbs each (mass is what actually absorbs sound waves) made by a brand called Producer’s Choice, available on vocalboothtogo.com. These are a little pricier ($50-70 for 80×80 inches) than moving blankets, but you won’t need to double them up to be effective, so you don’t need as many. They also won’t fall apart or have questionable smells. I use two of these on light stands to form a “blanket wall” that greatly reduces reflections in my recording space, but they can also be draped over furniture or hung on walls like the Audimute sheets.
The sample below demonstrates how sound treatment can reduce the echo sounds in your audio – headphones recommended.
Tip #3: Microphone Selection
Selecting the right microphone means considering two important factors: the type of content you’re creating, and the environment you’re recording in.
Content Style
If you’re making videos where an on-camera microphone doesn’t work well such as product reviews, a microphone positioned off-camera is best. For a breakdown of great options for all budgets, check out my article and video on the best boom microphones for video.
Content such as video podcasts or interviews (especially if you’re also publishing the audio as a podcast) is well-suited to microphones meant to be used on-camera in close range to the subject. Both dynamic and condenser microphones can be used, but it’s important to consider your environment.
Environment
When considering a dynamic or condenser microphone for video content with an on-camera microphone, selecting the right type of microphone for your environment can help to get the best possible audio. If you record in a space without significant sound treatment and any amount of ambient/background noise, a large diaphragm condenser microphone is not the best choice. These microphones are very sensitive and will capture more of the background and reflections in your space, which can be distracting for the listener.
A dynamic microphone will do a better job of minimizing these issues and are generally a better choice for at-home recording spaces unless you’ve invested in a good amount of sound treatment and have eliminated background noise. Any of my top recommendations for podcast microphones (mostly dyanmics) would be a good choice.
Below is a sample of a high quality large diaphragm condenser (the Neumann TLM103) compared to a budget-friendly dynamic microphone (the Zoom ZDM-1) in an recording space without sound treatment and a computer fan running in the background (headphones recommended).
Tip #4: Microphone Placement
Once you’ve selected the best microphone for your content style and your recording space, positioning it is the next step. Where you position your microphone can make a big difference in your audio, and each type of microphone has an ideal position.
Sometimes, the mere name of a microphone can mislead content creators into positioning them to get sub-par audio. Take, for example, Rode’s lineup of affordable and effective VideoMics. I compared them recently and recommend the VideoMic NTG for content creators doing talking head or product review videos. However the VideoMic line and others of the same type are marketed as “camera-mount” or “on-camera” microphones because they are sold with a cold shoe mount to attach directly to your camera or tripod. This is very handy for vlogging or other scenarios where the camera is very close to you, because the microphone will also be at a good distance to capture your voice clearly. However when recording in a studio space where the camera is potentially 3-4 ft or more away from you, having the microphone on the camera will not yield a good result. When the microphone is this far away, there will be more reflections and ambient “room tone” in your audio.
The solution is simple: get the mic closer to you! Video-oriented microphones are commonly referred to as “boom microphones” because they are best positioned on a boom, relatively close to the video subject (out of frame of course). Even microphones marketed as “on-camera” microphones will provide better sound when positioned closer to you. The sample below demonstrates the Sennheiser MKE 600 positioned about 4ft away right above the camera and then 8-9″ away on a boom. I would say headphones recommended, but the difference in this case is quite obvious even on laptop speakers.
Tip #5: Noise Positioning
My last tip may or may not apply in your recording situation. Once you’ve covered tips 1 to 4, if there is any remaining source of noise in your recording space, you can take advantage of your microphone’s polar pattern and position it so that the noise is minimized in your audio.
For example, if you’re recording the audio with your laptop and you know the fan noise will be present, place the laptop in the optimal location so the microphone picks up as little of the fan noise as possible. Exactly where that is will depend on your microphone’s polar pattern. If your microphone has a cardioid polar pattern (common for dynamic microphones), then directly behind it is going to be the least sensitive area. Combine that position with some distance (12 inches or more) and the noise will be minimized. Be sure to check the polar pattern of your microphone to be certain of the least sensitive area. Manufacturers will indicate the polar pattern in the microphone’s technical specifications.
Below is a demonstration of a loud computer fan noise in various positions around a dynamic microphone with a cardioid polar pattern (the Samson Q9U). Headphones recommended.
Those are my five simple tips for improving the quality of your audio. Even if you can only employ a couple of them, the will make a difference in your videos. I’ll be adding some content soon on more basics of audio for content creators, including how to post-process your audio. Feel free to comment below if you have any tips for content creators!